Transforming Images with Python: A Dive into Image Augmentation Using OpenCV and imgaug
Welcome, fellow Python enthusiasts! Today, we’re delving into the fascinating realm of image augmentation, a technique that allows us to enhance our dataset by creating variations of our original images. We’ll be exploring a Python script that utilizes the powerful OpenCV library and imgaug to augment a set of images, introducing variety for improved machine learning model training. So, fasten your seatbelts, and let’s embark on this exciting journey of image transformation!
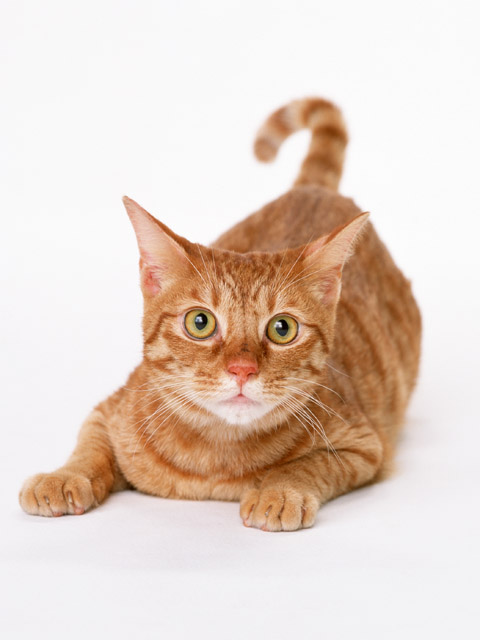
Original Cat Photo
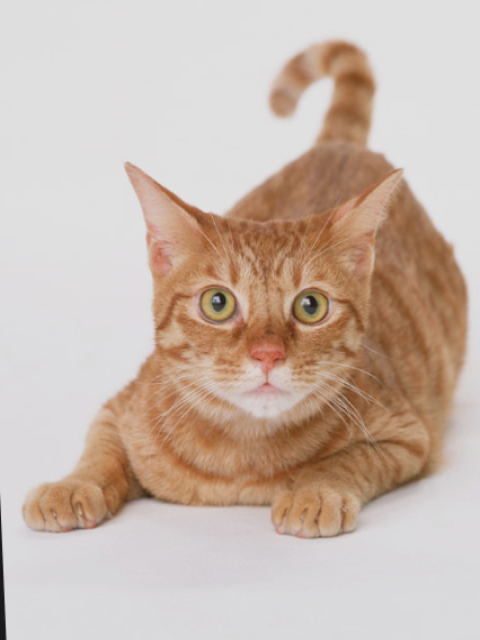
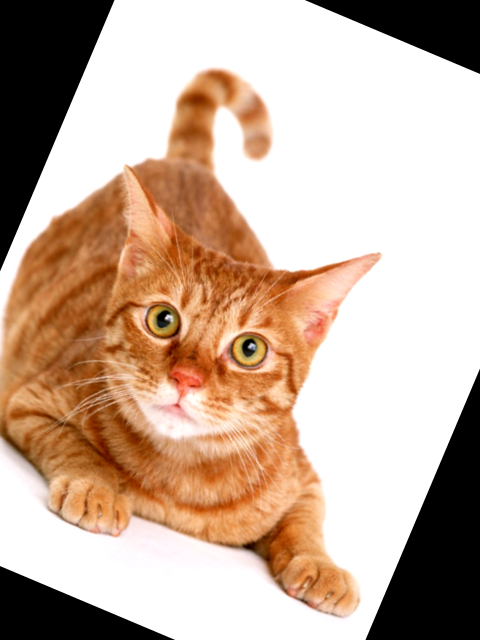
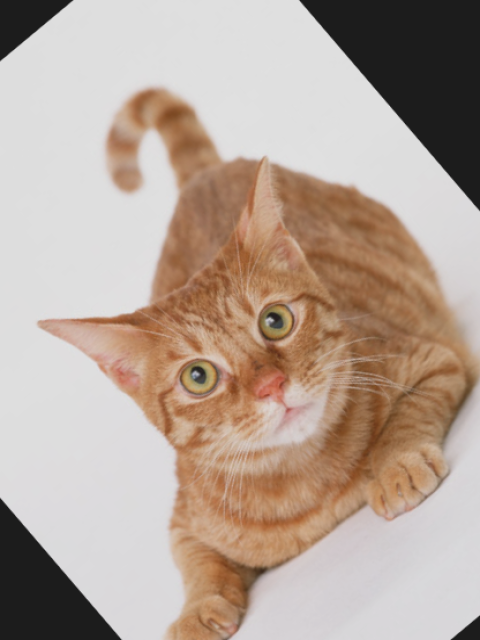
Augmented Cat Photos
Example Python Code:
import cv2
import os
import imgaug.augmenters as iaa

# Function to load images from a specified folder
def load_images_from_folder(folder):
    images = []
    for filename in os.listdir(folder):
        img = cv2.imread(os.path.join(folder, filename))
        if img is not None:
            images.append(img)
    return images

# Function to augment images using imgaug
def augment_images(images):
    seq = iaa.Sequential([
        iaa.Fliplr(0.5),        # horizontal flips
        iaa.Crop(percent=(0, 0.1)),  # random crops
        iaa.Sometimes(0.5, iaa.GaussianBlur(sigma=(0, 0.5))),  # apply Gaussian blur
        iaa.ContrastNormalization((0.75, 1.5)),  # improve or reduce contrast
        iaa.Affine(rotate=(-45, 45))  # random rotations
    ], random_order=True)

    augmented_images = seq(images=images)
    return augmented_images

# Function to save augmented images to a specified folder
def save_augmented_images(augmented_images, output_folder):
    os.makedirs(output_folder, exist_ok=True)
    for i, img in enumerate(augmented_images):
        cv2.imwrite(os.path.join(output_folder, f"augmented_image_{i}.png"), img)

if __name__ == "__main__":
    # Specify the paths for original and augmented images
    original_folder = 'path/to/original/images'
    augmented_folder = 'path/to/augmented/images'

    # Load original images
    original_images = load_images_from_folder(original_folder)

    # Augment images
    augmented_images = augment_images(original_images)

    # Save augmented images
    save_augmented_images(augmented_images, augmented_folder)
Breaking Down the Process:
-
Loading Images: The
load_images_from_folderfunction reads images from a specified folder using OpenCV and creates a list of these images. -
Image Augmentation: The heart of our script lies in the
augment_imagesfunction. We use imgaug to define a sequence of augmentations, including horizontal flips, random crops, Gaussian blur, contrast normalization, and random rotations. These augmentations introduce diversity to our dataset. -
Saving Augmented Images: The
save_augmented_imagesfunction then saves the augmented images to a specified output folder. Each image is named with a prefix and an index, ensuring a clear distinction from the original images.
How to Use This Script:
-
Specify Paths: Set the paths for your original and augmented image folders.
-
Run the Script: Execute the script, and watch as it loads your original images, applies diverse augmentations, and saves the transformed images to the specified output folder.
Conclusion: Congratulations! You’ve just explored a powerful Python script for image augmentation using OpenCV and imgaug. This technique is especially valuable for enhancing your dataset and improving the robustness of your machine learning models. Experiment with different augmentation techniques, and let your creativity flow as you transform images for a brighter, more varied dataset. Happy coding! 🐍