From Code to Android App - Building APK Files with Ubuntu and Buildozer on a Windows Machine
So, you’ve developed a Python-Kivy app, and now you’re ready to share it with the Android world. The process of turning your Python project into an Android APK file might seem daunting, but we’re here to guide you through it. In this blog, we’ll explore the steps to build an APK file using Ubuntu and the powerful tool, Buildozer.
What is Buildozer?
Buildozer is an incredible tool that simplifies the process of converting your Python-Kivy project into an Android APK file. With Buildozer, you can create a standalone Android application that can be installed and run on Android devices. It streamlines the entire build process, making it accessible even for those new to mobile app development.
Step-by-Step Guide
Here’s a step-by-step guide on how to build an APK file for your Python-Kivy app using Ubuntu and Buildozer:
1. Prepare Your Environment
Before diving into the build process, you’ll need to set up your environment. Ensure you have the following installed and ready to go:
- Windows Subsystem for Linux (WSL) - If you’re using Windows, you’ll need WSL to run Ubuntu.
- Buildozer - Install Buildozer in your Ubuntu environment.
- SDK Platform Tools - Download and install the SDK Platform Tools.
2. Connect Your Android Device
To test your app on a real Android device, follow these steps:
- Enable developer mode on your Android device by navigating to the device’s settings, searching for “BUILD,” and clicking it seven times. Once developer mode is on, activate USB Debugging.
-
Connect your Android device to your computer using a USB cable.
-
Unzip the first 3 items
adb,AdbWinApi.dllandAdbWinUsbApi.dllfiles from the SDK Platform tools folder to your Kivy app directory. -
Launch Powershell in the directory where your Kivy app is located with
shift+right-click, start the link between your devices:
./adb start-server
- Verify that your device is recognized by running:
./adb devices
You should see your connected Android device listed.
3. Build Your Android App
Now comes the exciting part! Open your Linux terminal in and use Buildozer to build your Android app:
- First, make sure you’re in the Kivy app directory:
cd /mnt/c:/...
- Initialize buildozer to generate
buildozer.specfile:
buildozer init
-
Using you preferred text editor, modify
buildozer.specfile’stitle,package.name -
Start building your apk file:
buildozer -v android debug
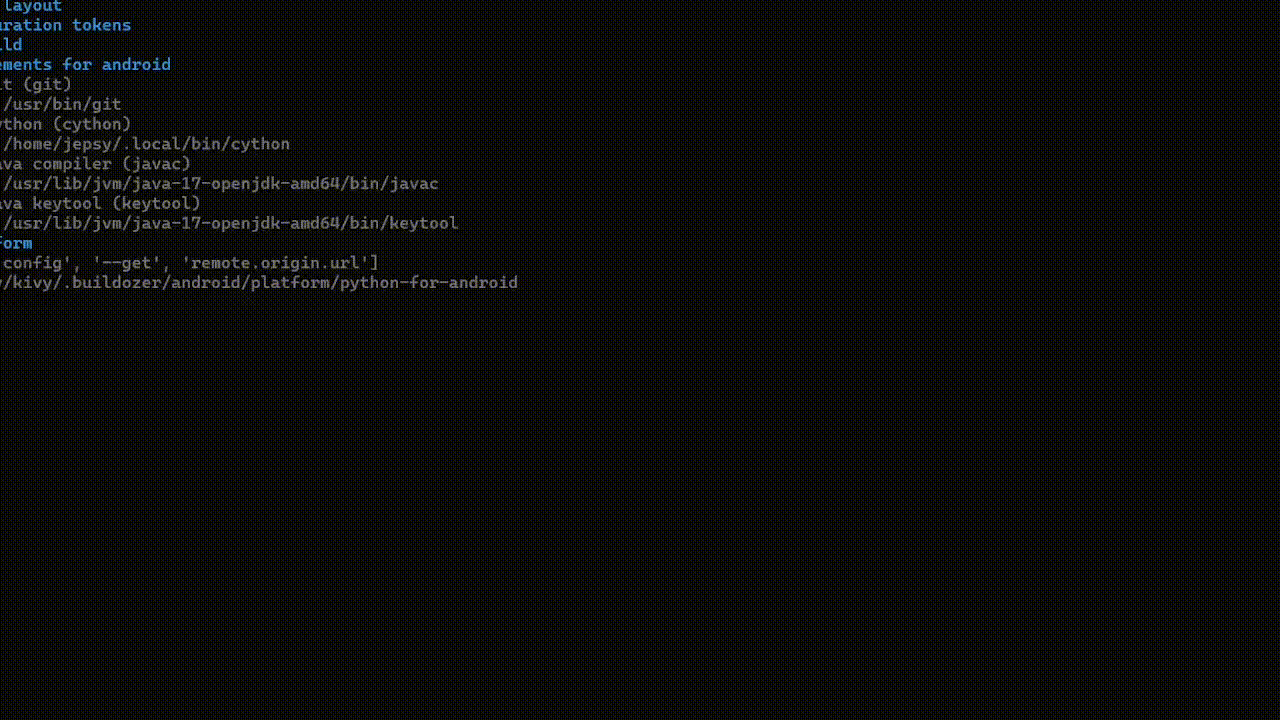
The -v flag increases verbosity for more detailed output, and android debug tells Buildozer to build the Android app in debug mode.
4. Locate the APK File
After Buildozer completes the build process, your Android app APK file will be generated. You can find the APK file in the “build” folder within your project directory.
With your APK file ready, you can now install it on your Android device or distribute it to others. Building APK files with Ubuntu and Buildozer is a vital step in sharing your Python-Kivy creations with a broader audience.
This straightforward process empowers you to turn your code into a real Android application. Whether you’re building for personal use or sharing your app with the world, this method allows you to reach a diverse audience. Happy coding, and may your Python-Kivy apps bring joy and utility to Android users everywhere! 🚀📱